There's always a sudden realisation when one first decides what to create for a range of sportswear garments. That is, "what is it I should create?!". Oh, and "where on earth should I begin?".
Week 1 has been a successful week in which I have completed the "Sports Web Research" sheet and also visited the Mont Adventure Equipment Factory in Fyshwick, ACT. It was extremely insightful to view how such garments are constructed, and because of this, I am now aware at why pricing is the way it is. Shortly after visiting the factory, I completed the "Mont Excursion Review" sheet (both are attached to this site). After researching and gaining some aspect of the construction of some sportswear, it was time to begin designing some of my own.
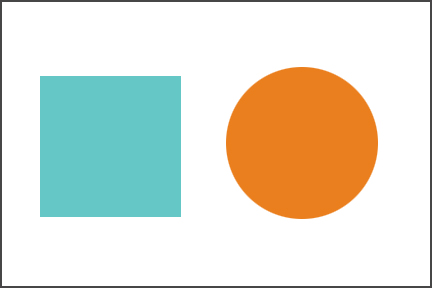
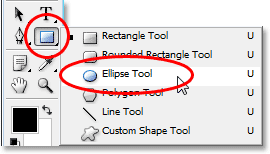
The class' first exercise was to open up a basic sketch of a croquis within Photoshop. After opening up a separate new page, it was time to start using the 'ellipse' and 'square' tools to create different shapes. I then used the 'fill bucket' tool to enter different colours as shown below.
Week 1 has been a successful week in which I have completed the "Sports Web Research" sheet and also visited the Mont Adventure Equipment Factory in Fyshwick, ACT. It was extremely insightful to view how such garments are constructed, and because of this, I am now aware at why pricing is the way it is. Shortly after visiting the factory, I completed the "Mont Excursion Review" sheet (both are attached to this site). After researching and gaining some aspect of the construction of some sportswear, it was time to begin designing some of my own.
The class' first exercise was to open up a basic sketch of a croquis within Photoshop. After opening up a separate new page, it was time to start using the 'ellipse' and 'square' tools to create different shapes. I then used the 'fill bucket' tool to enter different colours as shown below.
 |  |
Next, it was time to time to create 3 squares with an ombre effect by using the 'Magic Wand Tool' and then by adjusting the gradient by using the 'Gradient' tool (placed underneath the fill bucket when right-clicked).

Copying & Multiplying, Then Isolating 3 Squares, Then Adding the Ombre Effect
Then, after choosing a suitable pattern, I learnt how to alter the effects, contrast, brightness etc of an image; as shown below.
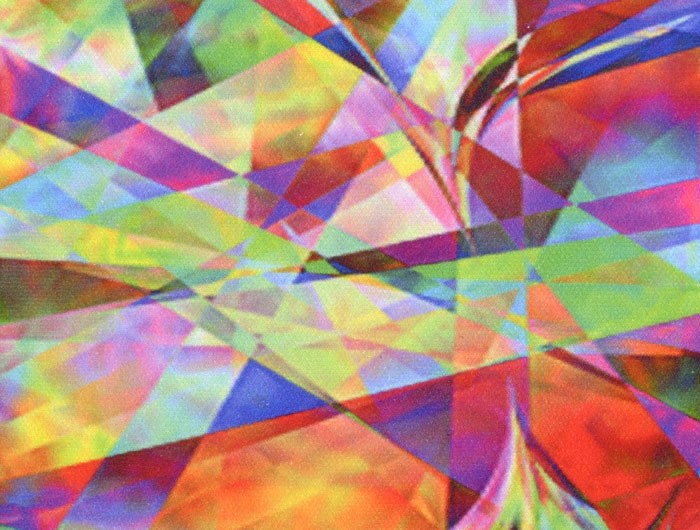
Original Image
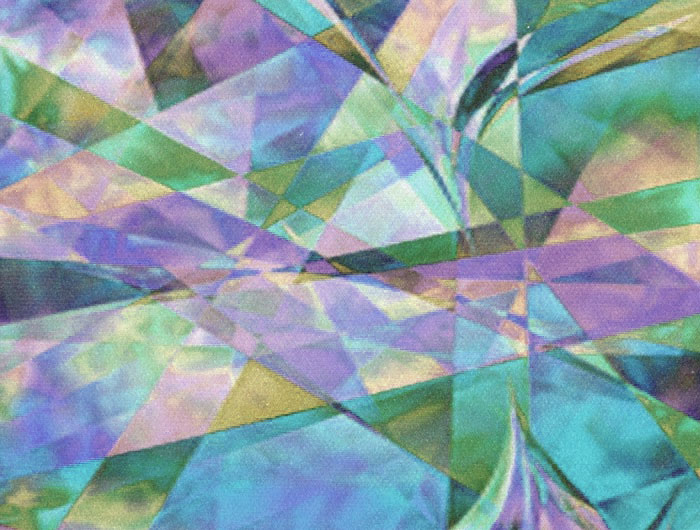
After Adjusting Contrast
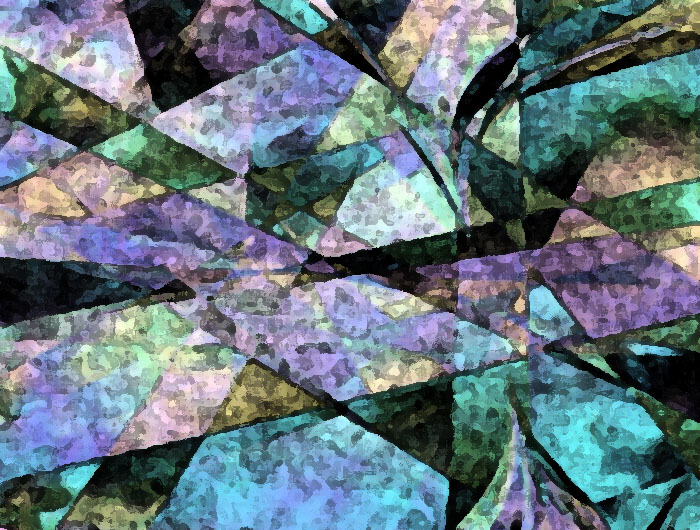
With 'Fresco' Effect Applied
