Week two of design and experimentation has been a fairly successful one. It consisted mainly, on the completion of experiments, and the beginning of designing an actual clothing line.
Shown below, is the evolution and repetition of the same croquis done simply, by creating new layers and placing one on top of the other (where applicable). In this case, it will be used as a background for the fashion garment(s) about to be added over the top.
Shown below, is the evolution and repetition of the same croquis done simply, by creating new layers and placing one on top of the other (where applicable). In this case, it will be used as a background for the fashion garment(s) about to be added over the top.
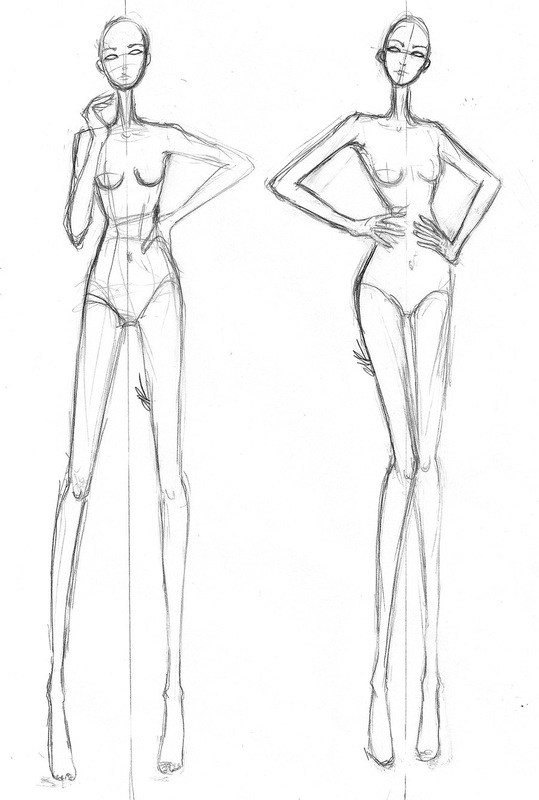
Original Croquis Image
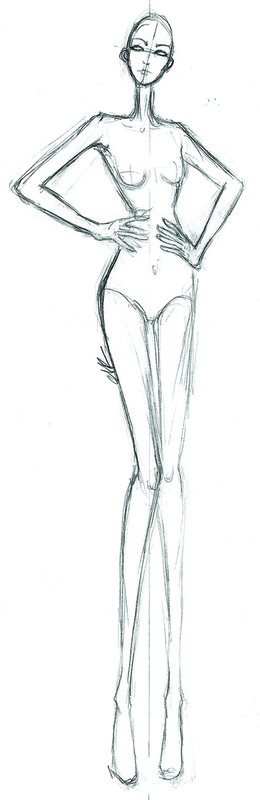
Cropping To Leave Only One Mannequin
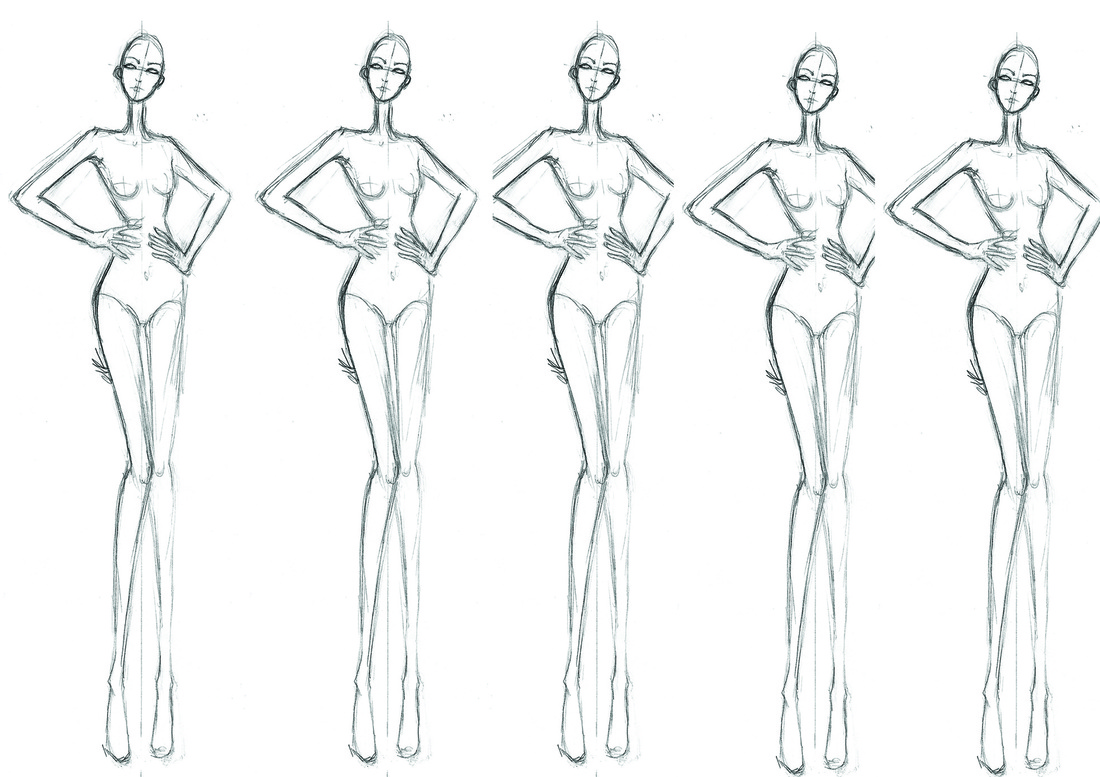
Manipulating Different Layers
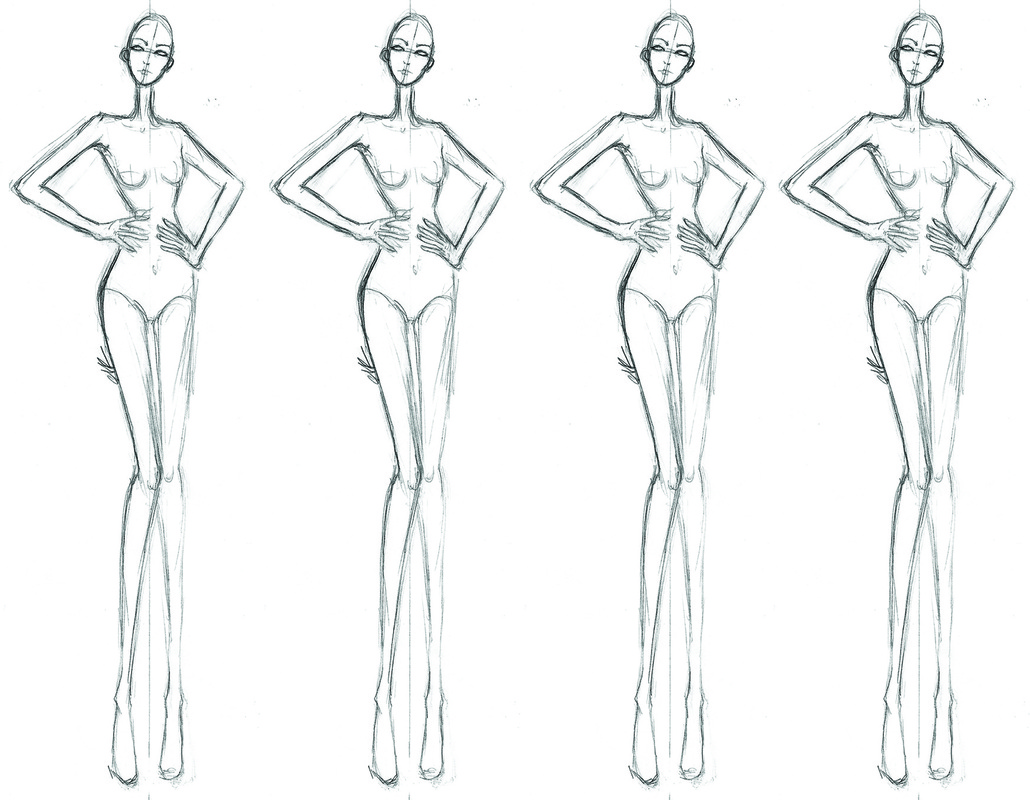
Final, Desired Placing of Multiple Layers
After learning how to crop, insert and adjust multiple layers, the class then moved onto designing an actual garment in Photoshop.
Here, is an example of using the ‘pencil’ tool to simply draw the outline of a garment. (NOTE: it can also be done using the ‘paintbrush’ tool). In other cases, such as the upcoming one, the 'magnetic lasso' tool makes going over a previous outline all that easier as it just grabs (or is 'magnetised') to the sketch. It can then be filled by using the ‘fill bucket’, or by entering in a pattern which another example will convey later.
Here, is an example of using the ‘pencil’ tool to simply draw the outline of a garment. (NOTE: it can also be done using the ‘paintbrush’ tool). In other cases, such as the upcoming one, the 'magnetic lasso' tool makes going over a previous outline all that easier as it just grabs (or is 'magnetised') to the sketch. It can then be filled by using the ‘fill bucket’, or by entering in a pattern which another example will convey later.

Free-hand Drawing to Create a Garment (t-shirt example)
From figuring out how to design a garment and use different 'filling' techniques, a greater use of these could then be demonstrated. For example, the exercise below of an 80's style bodysuit with a paisley pattern as the fill.
Starting with a basic croquis and using a pencil to outline the desired shape, I could then open a new page and insert a pretty pattern for adjustments.
Starting with a basic croquis and using a pencil to outline the desired shape, I could then open a new page and insert a pretty pattern for adjustments.
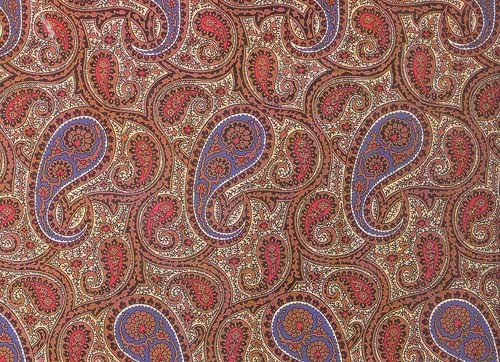
Basic Paisley Pattern
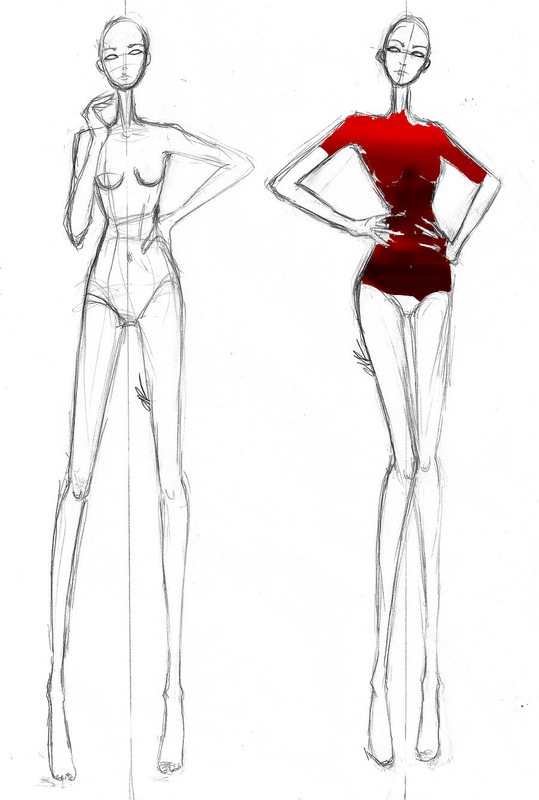
Through selecting the different 'fill' options, I could then use the pattern I had already adjusted to fill the outline of the bodysuit I had just roughly drawn.
The next task was to adjust the scale of the same pattern image and place it on the mannequin beside the first example, as shown below.
The next task was to adjust the scale of the same pattern image and place it on the mannequin beside the first example, as shown below.

Smaller-Scaled Pattern to the Left & Original Scaling to the Right - Using the Magnetic Lasso Tool
Also this week, we discovered how to manipulate the colours of a garment by using the dodge and burn tool. The dodge tool essentially, lightens or highlights specific areas and the burn... obviously creates a 'burnt' effect; darkening the desired areas.
Dodge & Burn Techniques
